Introduction
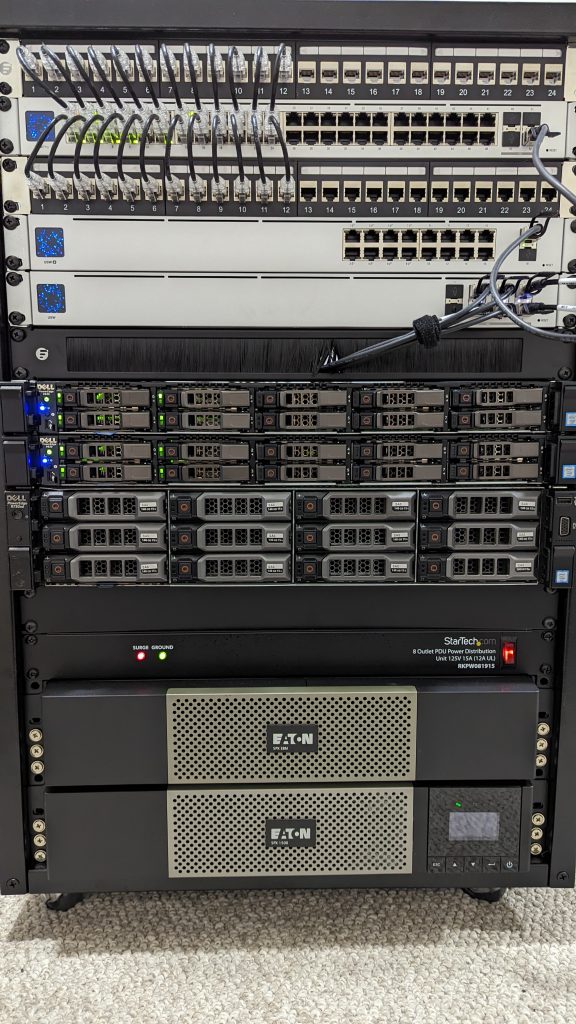
Currently the homelab is running on 3 Dell PowerEdge servers (two R630, one R730XD). These are all running VMware vSphere (ESXi) 7.0U2d to support a number of virutal machines. When these were installed, an internal USB stick was used for the ESXi boot drive, and a disposable drive used for the scratch partition to avoid wear.
Recently, VMware recommended moving off USB sticks and SD cards for the OS install, as the more recent versions of vSphere 7 write more intensively to the boot drive. In vSphere 7.0U3 and higher, there are warnings added, advising to move away from USB/SD media for boot devices. This is detailed in VMware KB Article# KB85685. There are a number of official articles linked to the KB including an FAQ, but a blog post from John Nicholson was also very helpful in explaining this, and what to do.
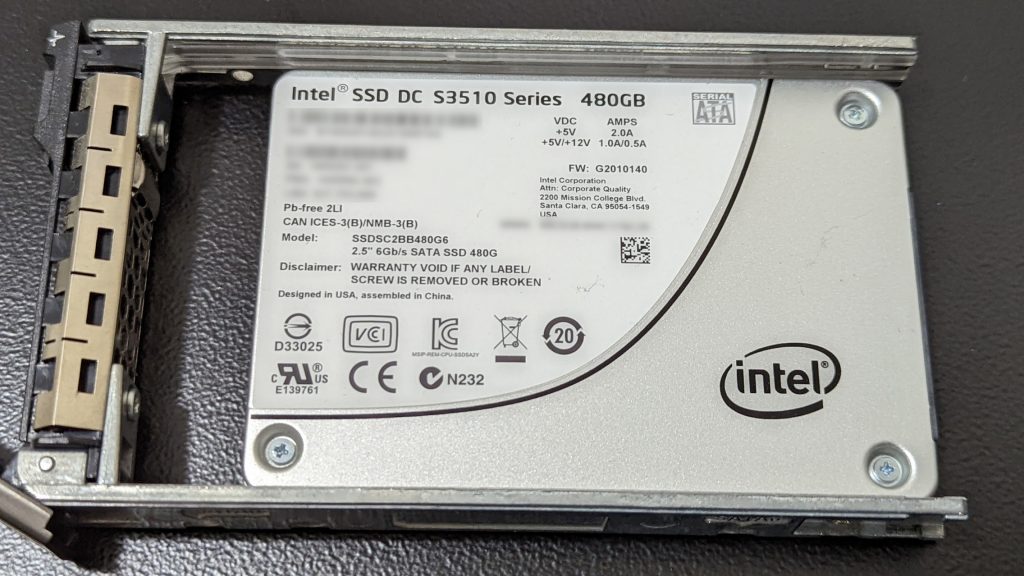
In response, I purchased a number of enterprise-grade SSD to use as the boot device for these servers. I could have gone with something cheaper, and these drives are probably overkill, but I am doing my best to run these machines as if they were production servers.
Soundtrack
I was mainly listening to this song from Two Steps From Hell on headphones while doing this work. Partially to keep me motivated, and partially to cover the fan noise from the servers as they rebooted, since they are quite loud.
Backing up the ESXi configuration
There is no easy way to migrate the ESXi install from a USB drive to an SSD. Instead, a reinstall of ESXi is needed to the same version. Fortunately, it is possible to back up and restore the ESXi host configuration to move it to the new media. This is described in VMware KB2042141.
I put all of the ESXi servers into maintenance mode, enabled SSH access; then logged in and ran ESXi Command Line commands to synchronize the configurations and back them up:
vim-cmd hostsvc/firmware/sync_config
vim-cmd hostsvc/firmware/backup_config
The commands provided a URL to download the backup using a browser, and I downloaded the tgz files to my local machine.
Removing USB boot media
Once the backups were taken, I shut down all of the servers using their web consoles. I am glad that I spent as much time as I did doing cable management, as it was easy to disconnect the two power cables, 10Gbps DAC, and 1Gbps RJ45 IDRAC network cable from each of them, and slide the servers out one-by-one on their rails to open them up and remove the internal USB drives. I gave the servers a quick spray with a compression can, but there was very little dust on the inside.
Installing the replacement SSD
Because the servers all have 2.5″ SATA bays, I purchased two new Intel S3510 480GB drives from Delta Server Store in Toronto, who gave me a good price, and shipped them to me quickly. The Dell R730XD already had an extra Dell EMC 480GB SATA drive that was being used for the scratch partition, so there was no need to purchase one for that server.
Once the drives were installed, I powered up the servers one-by-one to configure.
Boot and IDRAC Configuration
I still had a USB drive with an install of vSphere 7.0U2a on a 16GB stick, so I plugged this into the back of the first server, and booted it up. Once it booted to the installation screen, I switched to the IDRAC web interface to ensure the new SSD was in non-RAID mode. This was done under Storage > Physical Disks > Setup, where I located the new Intel SSD, and switched it to non-RAID mode:

Once the ESXi installer scanned for drives, it detected the Intel SSD, and I was able to choose it to install to:

Setting the new SSD as the boot device
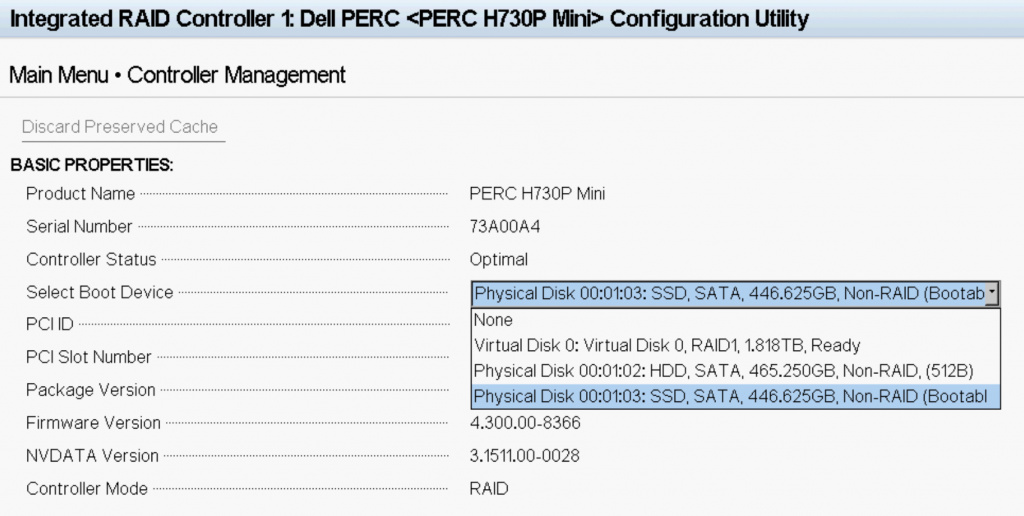
Once ESXi was installed and the server rebooted without the installation media, it initially came up without finding the proper boot device. I had to go through the BIOS and set the boot order to use the C: drive, but I wasn’t able to set the specific hard drive there. I had to specify the boot disk on the PERC H730 Mini RAID Controller to the Intel SSD. This was done in the Dell BIOS under Device Settings > PERC > Controller Management. I found this article helpful when I got stuck.
Once the proper boot device was set, I was able to reboot the server and it booted into ESXi 7.0U2a.
Configuring ESXi and patching to 7.0U2d
I used VMware KB2008939 for reference, which has steps to patch an ESXi host from command line.
Once I was able to boot ESXi fully, I set up the network management interface, the previous IP settings, and hostname. I logged in using the web interface, put the server into maintenance mode, and enabled SSH access.
I downloaded the 7.0U2d package from VMware, and uploaded it to a local datastore directory using the web interface. Once I logged in via SSH, I ran the following command to upgrade to 7.0U2d and reboot:
esxcli software vib update -d "/vmfs/volumes/DataStore/Directory/VMware-ESXi-7.0U2d-18538813-depot.zip"
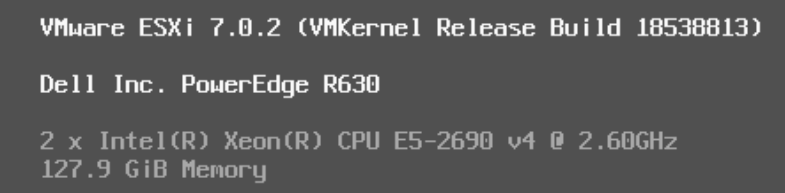
rebootOnce the server booted back up, I confirmed in the console that it was running 7.0U2d, which shows up as 7.0.2 (VMKernel Release Build 18538813):
Restoring ESXi configuration
Now that the server is updated to the same version as the backup, we are able to restore the backup configuration file. The file needs to be renamed to configBundle.tgz. You can upload it to the same datastore folder using the web interface, but it will need to be moved to the /tmp folder. Even if the explicit path is set, it will still look in /tmp and error out otherwise. You will also need to re-enable SSH access to get in. Once ready, run the following command to restore the backup:
vim-cmd hostsvc/firmware/restore_config 1 /tmp/configBundle.tgzOnce run, this will trigger an immediate reboot of the server. When it comes back up, it should have the same configuration as before the boot media was switched. Log back into the web interface and confirm the virtual machines and network interfaces are all present as before.
![]()