Introduction
For mass storage in a homelab, a central Network Attached Storage (NAS) server is typically a good way to go. This can be a commercially purchased unit such as a Syncology or QNAP, ranging from an enclosure supporting two hard drives, to tens or dozens. Another option is to build your own server and use a project such as TrueNAS or UnRAID. For the truly hardcore, you could roll your own Linux OS and set up the drive array and network services manually.
Personally, I went with the new TrueNAS SCALE project which is Linux based, uses ZFS for the filesystem, and has a well developed web interface and set of tools, services, utilities, and applications. For more information on TrueNAS SCALE, check out this video:
Hard Drive Choices
In all of these cases, you will need hard drives to add to the enclosure for your storage. These typically are purchased separate from the enclosure or server itself, and are quite an expensive portion of the project. For enterprise grade hard drives, it is a good idea to take a look at the NAS grade drives, such as the Western Digital Red/Plus line, or Seagate Ironwolf/Pro line. These drives are designed with NAS compatibility in mind, and typically have higher workload ratings and warranties, as they are designed for 24/7 use.
Do keep in mind that you will typically want to avoid Shingled Magnetic Recording (SMR) drives, as they are slower than Conventional Magnetic Recording (CMR) drives. There was a bit of controversy the last few years, where Western Digital was caught using the slower SMR technology in their NAS drives, which could cause performance issues, especially in ZFS drive arrays.
Drive Shucking and Warning
However, buying these NAS grade drives at retail can be very expensive, even with the occasional sales. Another option is to take cheaper consumer grade USB drive enclosures, and remove the drive from the enclosure. This process is affectionately known as “shucking”, similar to how you get an oyster out of its shell. In many cases, an enterprise grade drive such as a Western Digital Red can be found inside a consumer USB enclosure, getting you a near identical drive for a fraction of the cost. In some cases, you may get a white label (unbranded) drive, which has many of the same features as the enterprise grade drive.
Perform hard drive shucking at your own risk, as you can risk damaging the drive if you’re not careful, or ruining the drive enclosure. In most cases, you will be voiding the warranty by extracting the internal drive. Do also be aware that some internal hard drives used in USB enclosures can have a different pin layout, which make them incompatible without some modification. For example, the Western Digital 8TB Easystore drives have a 3.3V pin which will need to be taped off. Do your research before purchasing and shucking drives, so you don’t end up with something you can’t use or return.
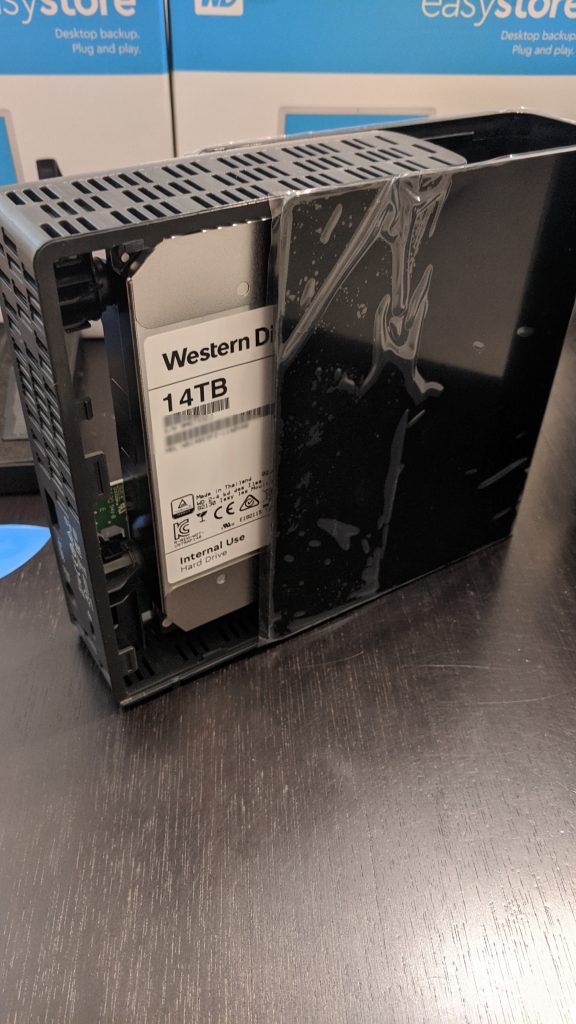
I can confirm that the 14TB Western Digital EasyStore units did not need any modification to work in my Dell server, but your mileage may vary.
Step 1 – Test the drive
Before extracting the drive, it is recommended to run a full test to ensure it works and does not have any bad sectors. If there is a problem, you can exchange or RMA the drive under warranty, or the store’s refund/exchange policy.
On Linux, there are a number of ways to test the drive. Once the drive is connected via USB and powered up via the external power brick, check dmesg to confirm the drive is detected.
A quick check would be to run a smartctl command, to see what the S.M.A.R.T. information for the drive says. This is a quick way to confirm if there are any initial problems. You can run a command similar to:
sudo smartctl -A /dev/sdxYou should get an output similar to the following:
$ sudo smartctl -A /dev/sdx
smartctl 7.1 2019-12-30 r5022 [x86_64-linux-5.4.0-54-generic] (local build)
Copyright (C) 2002-19, Bruce Allen, Christian Franke, www.smartmontools.org

=== START OF READ SMART DATA SECTION ===
SMART Attributes Data Structure revision number: 16
Vendor Specific SMART Attributes with Thresholds:
ID# ATTRIBUTE_NAME          FLAG     VALUE WORST THRESH TYPE      UPDATED  WHEN_FAILED RAW_VALUE
  1 Raw_Read_Error_Rate     0x000b   100   100   001    Pre-fail  Always       -       0
  2 Throughput_Performance  0x0004   135   135   054    Old_age   Offline      -       104
  3 Spin_Up_Time            0x0007   095   095   001    Pre-fail  Always       -       232
  4 Start_Stop_Count        0x0012   100   100   000    Old_age   Always       -       4
  5 Reallocated_Sector_Ct   0x0033   100   100   001    Pre-fail  Always       -       0
  7 Seek_Error_Rate         0x000a   100   100   001    Old_age   Always       -       0
  8 Seek_Time_Performance   0x0004   133   133   020    Old_age   Offline      -       18
  9 Power_On_Hours          0x0012   100   100   000    Old_age   Always       -       220
 10 Spin_Retry_Count        0x0012   100   100   001    Old_age   Always       -       0
 12 Power_Cycle_Count       0x0032   100   100   000    Old_age   Always       -       4
 22 Unknown_Attribute       0x0023   100   100   025    Pre-fail  Always       -       100
192 Power-Off_Retract_Count 0x0032   100   100   000    Old_age   Always       -       7
193 Load_Cycle_Count        0x0012   100   100   000    Old_age   Always       -       7
194 Temperature_Celsius     0x0002   030   030   000    Old_age   Always       -       46 (Min/Max 21/49)
196 Reallocated_Event_Count 0x0032   100   100   000    Old_age   Always       -       0
197 Current_Pending_Sector  0x0022   100   100   000    Old_age   Always       -       0
198 Offline_Uncorrectable   0x0008   100   100   000    Old_age   Offline      -       0
199 UDMA_CRC_Error_Count    0x000a   100   100   000    Old_age   Always       -       0
If everything looks normal, set up to run badblocks on the drive. This is a command that will check for bad sectors by writing to each sector multiple times, and checking the success/failure of the read/write.
You may want to run this command in screen or tmux, so you can attach/detach and check on it without accidentally cancelling the check. Keep in mind that a full badblocks scan with multiple passes on a large drive like a 14TB can take a few days, so be sure you have a setup you can leave alone while it runs.
To start a scan, run the following command:
sudo badblocks -b 4096 -wsv /dev/sdxYou should see the command check the blocks, doing a read and compare through multiple passes. When it is finished, it will return to the command prompt and report any errors. You should see output similar to the following:
$ sudo badblocks -b 4096 -wsv /dev/sdx
Checking for bad blocks in read-write mode
From block 0 to 3418095615
Testing with pattern 0xaa: done
Reading and comparing: done
Testing with pattern 0x55: done
Reading and comparing: done
Testing with pattern 0xff: done
Reading and comparing: done
Testing with pattern 0x00: done
Reading and comparing: done
Pass completed, 0 bad blocks found. (0/0/0 errors)
Step 2 – Set up your workspace
If the drive comes back clean from the tests, you can proceed with extracting the drive. Set up a flat clean surface with lots of space to work. I would recommend the following tools:
- Recommended: iFixIt Opening Assortment Kit or Essential Electronics Toolkit.
- You’ll need 4-6 opening picks or guitar picks, and at least one spudger or used gift card.
- You can also use some cut up old credit cards or gift cards in place of the picks, but they may be a bit trickier to work with.
- Standard Phillips screwdriver.
- Pliers, or a Torx T6 head screwdriver.
Step 3 – Shuck The Drive
Here’s a good video on how to shuck the drive. More detailed steps below.
I recommend watching the video and the linked videos for more detailed steps. I’ll include a quick summary of steps with photos below.
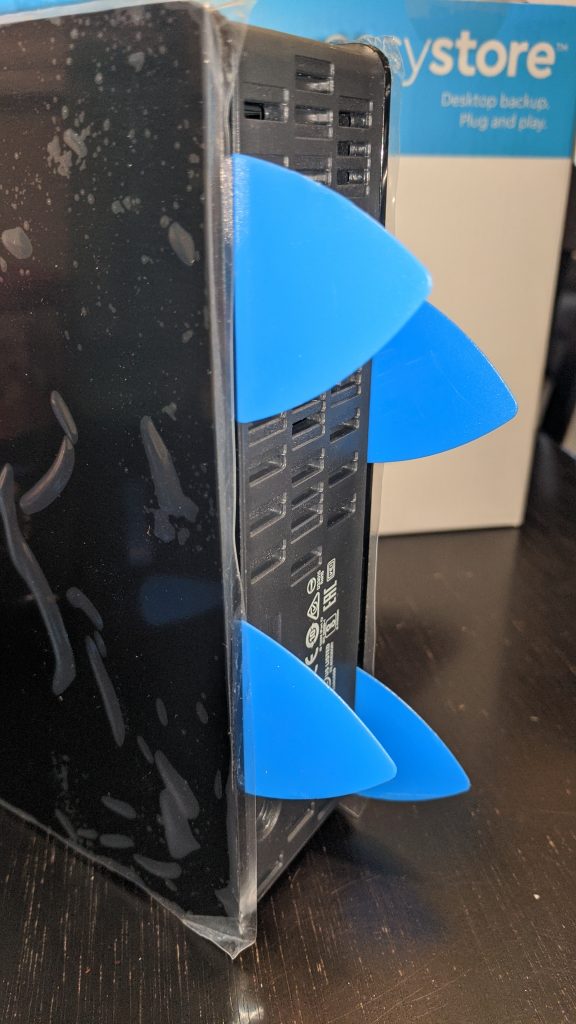
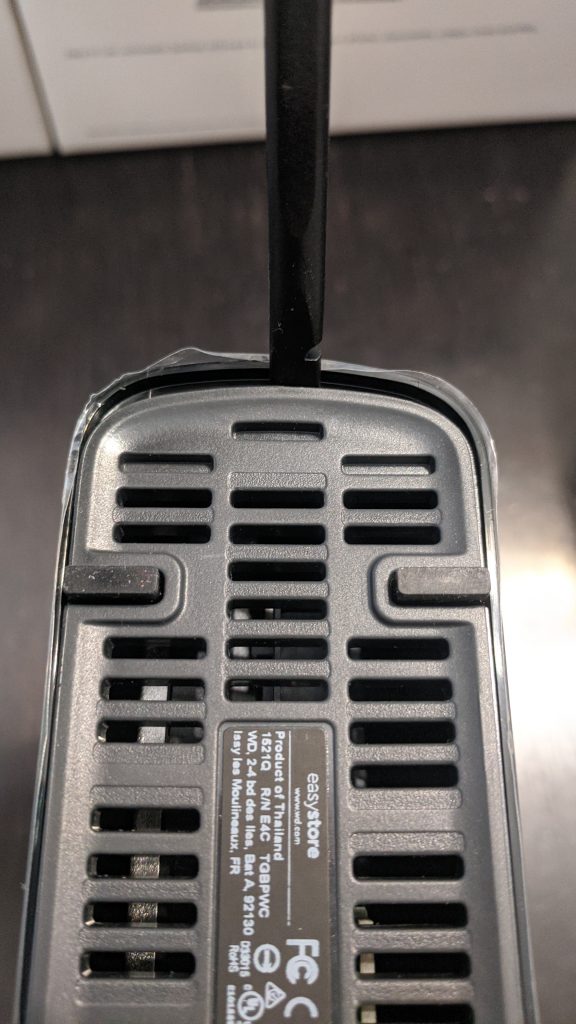
First, insert the picks in the rear slots to press against the inside tabs. If you slide the pick along the edge, you should feel some resistance where the internal tab holding the frame to the shell is.
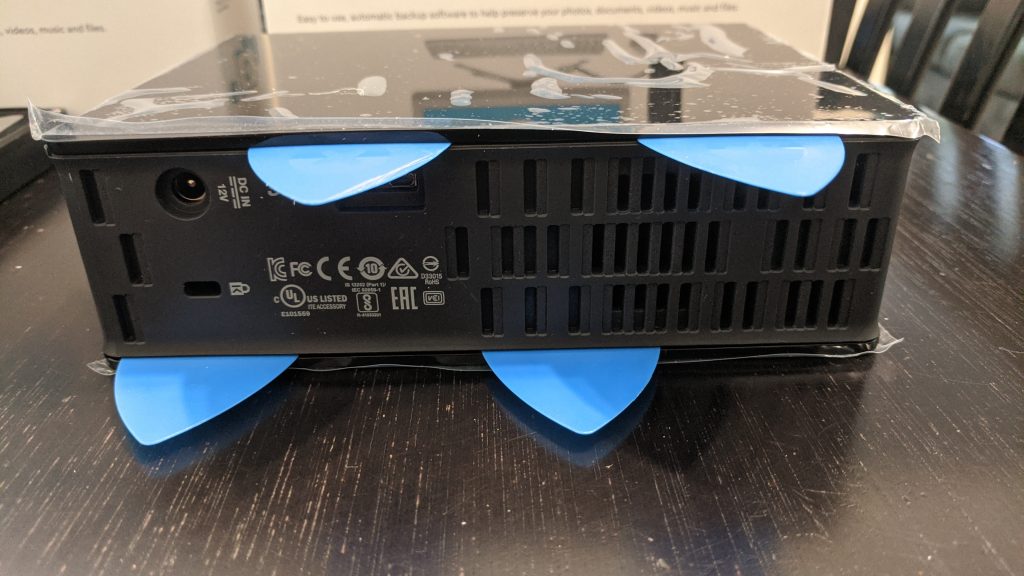
Insert the spudger in the bottom front of the enclosure. Pry it backwards, creating a gap, then wiggle it until the picks fall out.
You should then be able to slide the drive out of the enclosure on the frame. The drive is held in the frame using the rubber bumpers. You should be able to slide the drive and USB/SATA card off the frame.
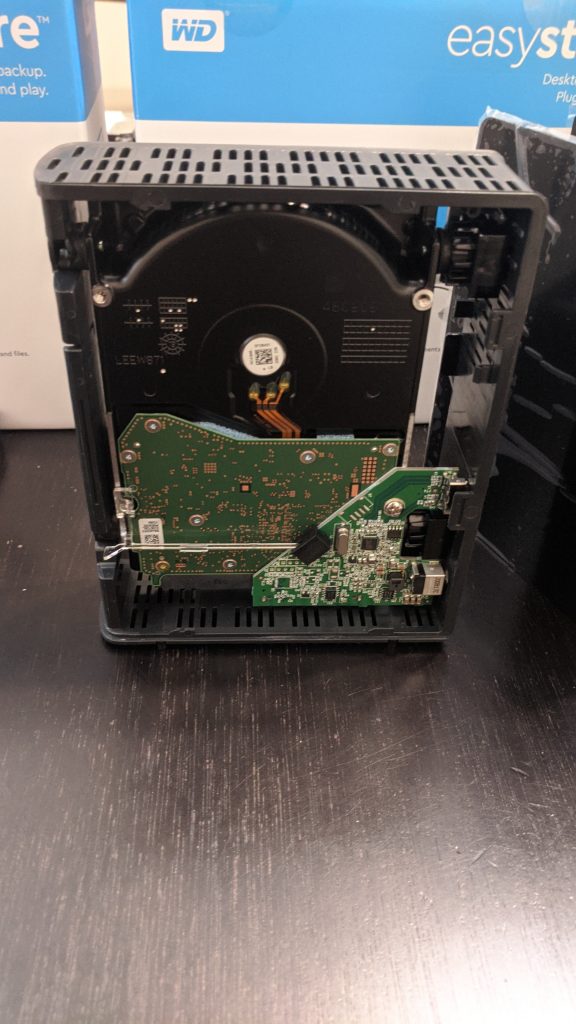
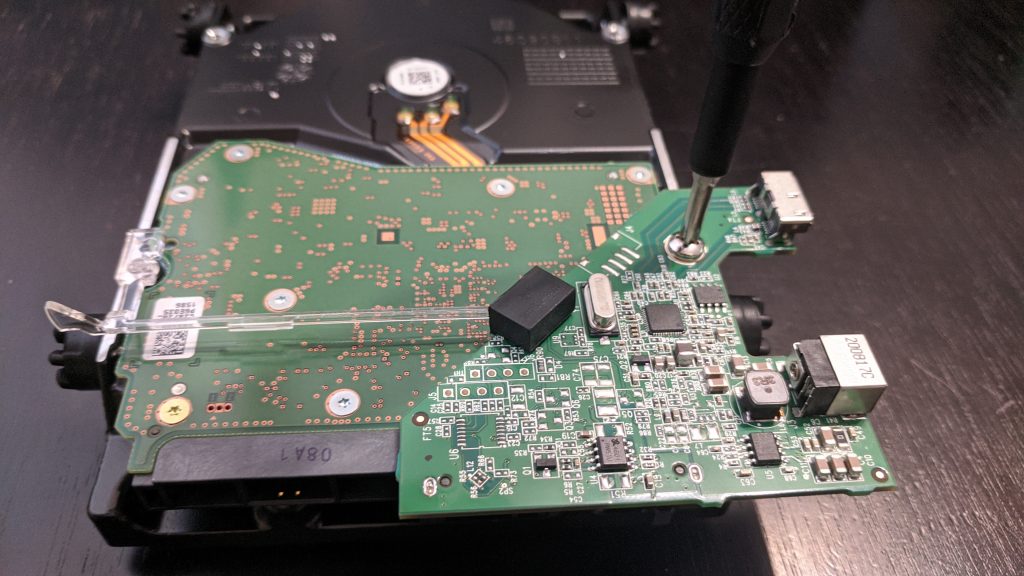
Once this is done, use the Phillips screwdriver to unscrew the USB/SATA card. Pull up on the transparent plastic lightbar, as it is just attached to a hole, then the card should pull down off the SATA port.
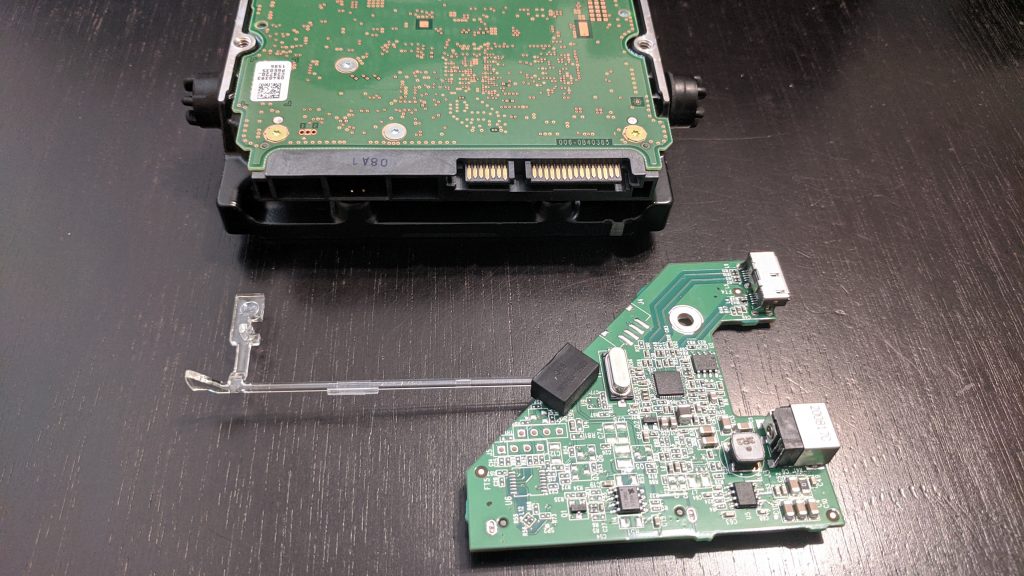
Remove the rubber bumpers, and use a Torx T6 screwdriver head, or pliers to unscrew the metal bolt from the hard drive.
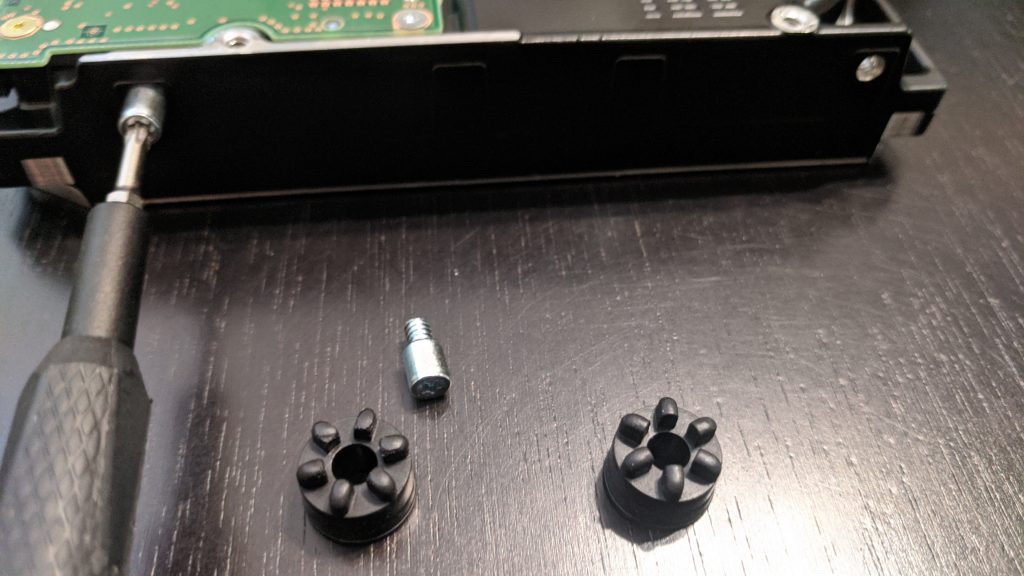
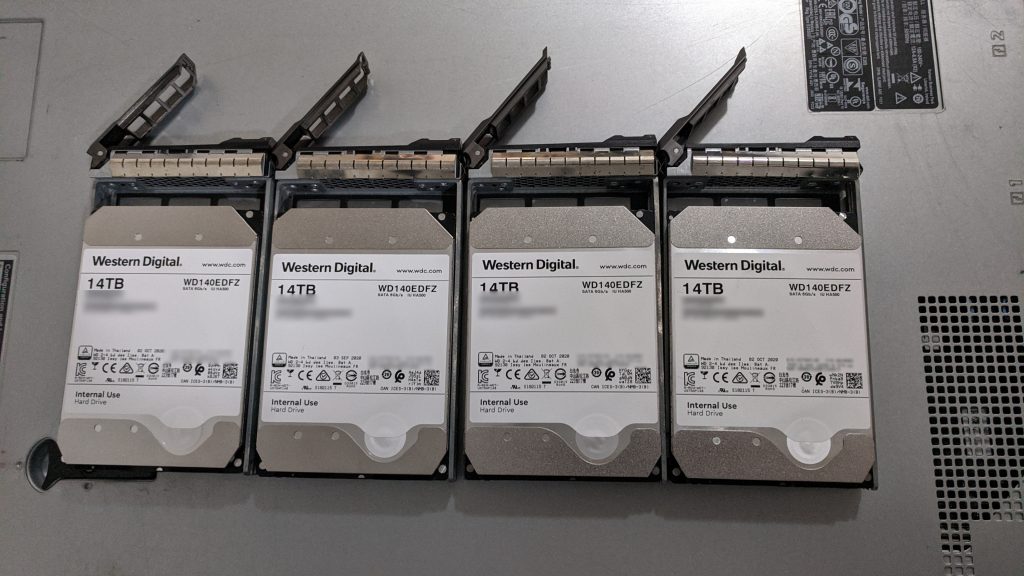
The hard drive should now be completely free from the enclosure, and ready to use as an internal hard drive.
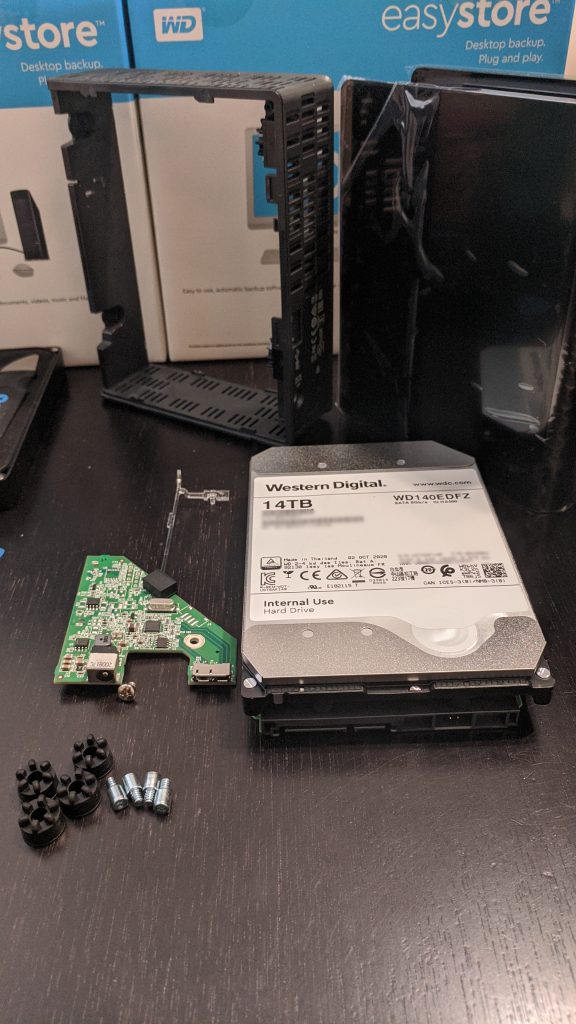
As you can see in these images, the internal drive is a White Label Western Digital WD140EDFZ. Purchasing some of the same enclosure a year later gave a different model number. In all cases these were helium filled, 5400rpm, 6Gb/s SATA drives. Some of the drives were reportedly 7200rpm but limited by firmware to 5400rpm.
Resources
![]()