Introduction
I’ve used LastPass for quite a few years now as my primary password storage service. I randomly generate most of the passwords for websites, and I don’t even know what most of them are, so I depend on my LastPass Vault quite heavily.
I am using Multi-Factor Authentication, and even paid for LastPass Premium for a while so I could use a Yubikey for access. After doing this for a while, I switched to using Google Authenticator for MFA. It concerns me that while MFA can be added as a layer to access the LastPass vault using the browser plugin or app, there is no extra encryption on the Vault itself. That means that if the data ever got stolen, the MFA layers would be useless, and only the master password would need to be cracked to access the passwords and other Vault data.
In December 2022, LastPass released details around a recent security incident from August 2022, where an unauthorized third party gained access to backups of production data, including vault data. While the vaults are encrypted and secured with 256-bit AES encryption, the master password can be brute-forced to decrypt the vault. This isn’t the first security incident suffered by LastPass, but it is very concerning to me in this case that vault data was stolen.
Tom Lawrence from Lawrence Systems posted a number of YouTube videos on the topic, which drew my attention to the urgency of the problem. I would highly recommend watching this video for more details:
Considering Alternate Password Managers
I had been considering moving to a self-hosted password manager for a while, but this latest security incident prompted me to take more urgent action to do so, and rotate all of my site passwords in the process.
I’ve used 1Password for work, and it didn’t seem too bad, but it isn’t an open source platform, and doesn’t look like it can be self hosted. There is a survey you can submit to them on the topic, if this is something you’d like them to do.
I also looked at KeePass Password Safe and KeePassXC, which are open source. KeePassXC does have a browser plugin, but the password database is stored as a file, which makes it trickier to maintain as it would need to be manually synchronized between computers. Other products like Bitwarden and VaultWarden run as a full server, and have browser plugins and phone applications that can talk to it.
Tom also did a separate video on this topic:
I considered using VaultWarden, which is a free, alternative implementation of Bitwarden written in Rust, but the fact that Bitwarden is run through a number of Docker containers appeals to me, and I can dedicate the resources in my homelab, or in AWS, to run it. Bitwarden also has a number of other features that appeal to me, and supporting the original project also seemed to make sense. Using Bitwarden also would maintain the best compatibility with browser plugins and mobile applications.
Setting Up The AWS Environment

Now that I had decided on setting up Bitwarden, I had to build an AWS environment to run it on. I decided to do this in Terraform, as it lets me document Infrastructure-as-Code, and makes it easy to set up and tear down. I’ve put all of the code needed with instructions and minimal tweaks in this Github project folder for others to use as well, if it is helpful.
Most of the AWS environment setup is pretty generic. The real configuration is in the userdata.sh file which provisions the EC2 instance after Terraform brings it up. I considered doing some of this work with Ansible using a remote-exec provisioner, but this is really only as a last resort and using the User Data to run Linux commands after launch is supported by, and recommended for Amazon EC2.
I chose not to automate the Bitwarden installation itself, as there is a bit of a chicken and egg situation regarding the prerequisites for installing Bitwarden. More on that later.
Bitwarden Prerequisites
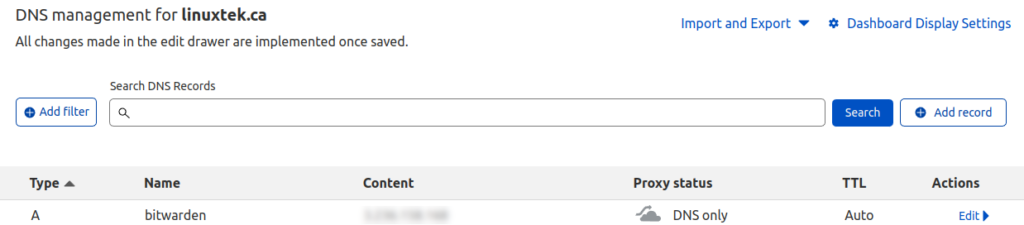
One of the requirements for installing Bitwarden is a domain name with DNS records. This could be created in Amazon Route 53 if you are creating a new domain or subdomain already managed in AWS. I am using CloudFlare for DNS for this domain, so I had to create an A record for Bitwarden to use, pointing to the public IP address of the EC2 instance created by Terraform:
I also needed an SMTP Server for Bitwarden to use to send email verification links. For this purpose, using an external SMTP server is easier than setting up your own mail server. GMail has options to use their SMTP servers with authentication, but for this test, I decided to use Amazon Simple Email Service (SES). In order to send email from the linuxtek.ca domain, I needed to add the domain as a verified identity. I used the Easy DomainKeys Identified Mail (DKIM) wizard, and added the required CNAME, MX, and TXT DNS records in CloudFlare:

Shortly after this was done, SES was able to verify the identity successfully. I also added my personal email address I would be testing with under verified identities, as by default, the Amazon SES account is in a sandbox, and is only able to send email to verified addresses. If you will be using this in production, you will need to submit a support case to Amazon in order to move to production. For the purposes of this test, this was not necessary.
In order to authenticate with Amazon’s SMTP server, I also needed to create an SMTP username and password. This can be done under Amazon SES > SMTP Settings, and basically creates an IAM user which only has access to write to SES. Make sure to write down the username and password as they are not available after creation. Also pro tip – the IAM username is different from the SMTP username, so make sure to record both.
Installing Bitwarden
Tom Lawrence has done a great video on installing Self-Hosted Bitwarden, and if you want a good walkthrough I’d recommend giving it a view:
The Bitwarden installation documentation for on-premise Linux installation is also very easy to follow, and a recommended read.
I will go through the steps I performed, as some of the installation steps like creating the bitwarden user are taken care of by Terraform.
I SSH’d into the AWS EC2 instance as the admin user, using the keypair that was inserted into the machine as part of the setup.
Once logged in, I switched to the Bitwarden user using sudo su bitwarden. If you want you can specify a password for this user to log in directy, but I prefer to use my keypair and only use the admin user.
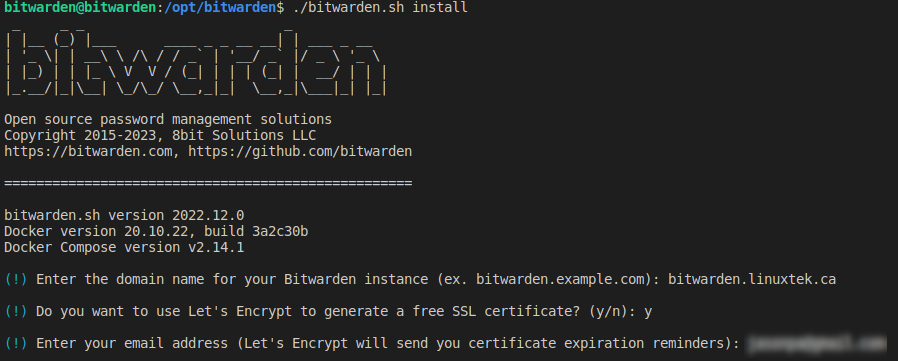
In the /opt/bitwarden directory, the bitwarden.sh file is already present, so I ran that using ./bitwarden.sh install.
I entered the domain name that I had created in CloudFlare: bitwarden.linuxtek.ca.
For this test, I wanted to use a Let’s Encrypt SSL certificate, so I said “yes” on the next prompt, and entered my personal email address to send expiration reminders to.
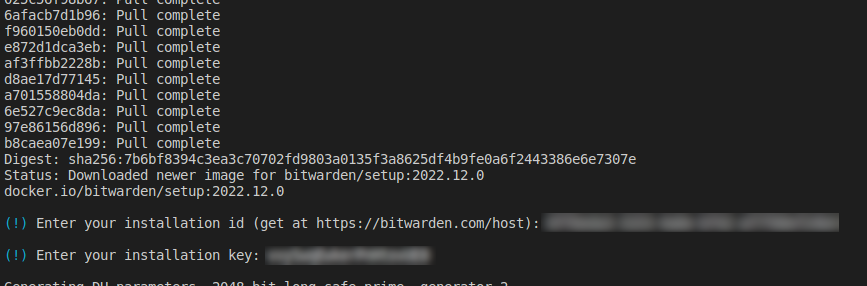
When prompted, I entered linuxtek-vault for the name of the Bitwarden database. After this, the installer pulled down all of the required Docker containers. I then entered my Bitwarden Installation ID and Key, which I generated at this link.
After entering this, the installer generated some encryption keys, and completed the install.
I then modified the global.override.env file in /opt/bitwarden/bwdata/env to configure these lines:
globalSettings__mail__replyToEmail=no-reply@bitwarden.linuxtek.ca
globalSettings__mail__smtp__host=REPLACE
globalSettings__mail__smtp__port=587
globalSettings__mail__smtp__ssl=false
globalSettings__mail__smtp__username=REPLACE
globalSettings__mail__smtp__password=REPLACE
globalSettings__disableUserRegistration=false
globalSettings__hibpApiKey=REPLACE
adminSettings__admins=
In my case, I added the SMTP endpoint address for Amazon SES, from the Amazon SES > SMTP Settings page. I used SMTP port 587, and specified to use SSL. I entered in the SMTP username and password I generated and recorded when generating my SMTP credentials. For this test, I left disableUserRegistration=false to allow registration, but once I was set up, I would disable that. For adminSettings__admins, I put in my personal email address.
Once I finished editing the file, as per the installation guide, I switched back to /opt/bitwarden, and ran an ./bitwarden.sh rebuild and ./bitwarden.sh restart to ensure the settings took effect. Many of the Docker containers were pulled down, extracted, and started; so it took a few minutes to completely start up. I also ran ./bitwarden.sh updateself and ./bitwarden.sh update to make sure I had the latest builds.
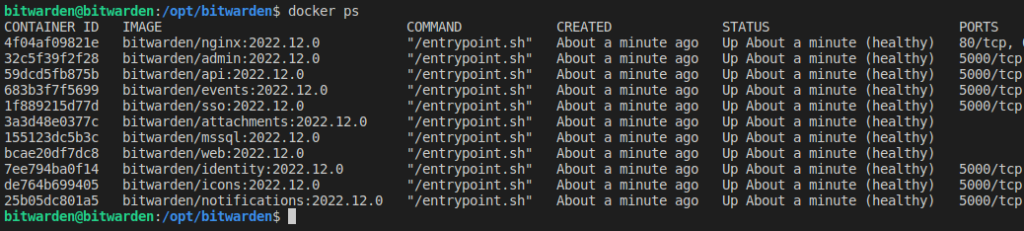
Once complete, I was able to run docker ps to see all of the containers running:
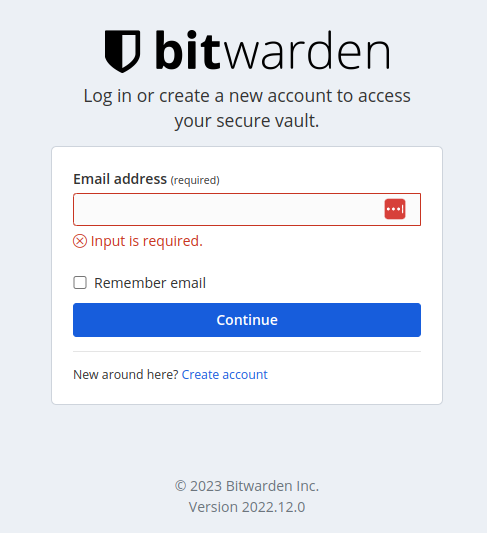
And by visiting the domain name I had set, I was presented with the Bitwarden login screen:
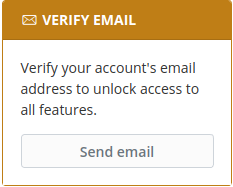
After creating an account with my personal email address, I logged into the Vault and saw the account would need to be verified via email address:
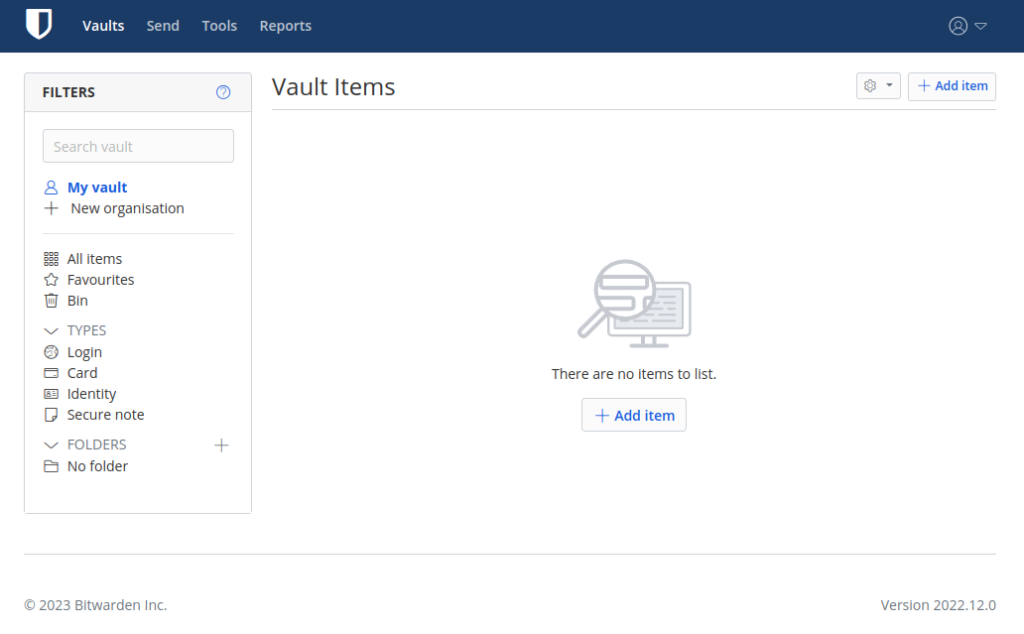
Clicking the “Send email” button successfully sent a verification email via Amazon SES to my personal email. Once I clicked the link, I entered my credentials again, and the account was verified, and I had full access to all features:
After testing, I ran a terraform destroy on the environment, and removed all of the DNS records from CloudFlare, to prevent any abuse of my account (just a heads up for anyone looking to exploit the system).
Troubleshooting
I did run into a few issues while setting this up initially, mostly around the Amazon SES configuration. Mainly this was due to using the IAM username as the SMTP username, and they are not the same. Definitely make sure you record both once you set up the credentials.
To troubleshoot the verification email, use the logs under /opt/bitwarden/bwdata/logs/api/Api. The errors were fairly clear when there I had an SMTP configuration issue.
Also, be sure to do a ./bitwarden.sh rebuild and ./bitwarden.sh restart any time you make changes to the Bitwarden configuration, to ensure the settings are applied.
Also, when using SES, keep in mind that in Sandbox mode, you won’t be able to send to any emails to addresses not in your verification list. Initially I thought I would need to switch to a Production mode to test, but all I needed to do was verify that email address ahead of time. Thanks to Traian Ciobanu for the help troubleshooting this.
Conclusion
When I initially decided to set Bitwarden up to self host in AWS, I had ideas to share the service with my family. Eventually I decided it was too much of a risk to keep the server open on the internet, and locking it down would be costly and complex. Instead, I will be hosting a Bitwarden server in my homelab behind my firewall, and access it using VPN if needed, to avoid having to open ports.
Hopefully the resources and information in this article can help others who are looking to self host, and you can decide if hosting in AWS makes sense for you.
![]()