
Introduction
Since my previous article, while I was waiting for the replacement Dell PERC H730P Mini RAID controller to arrive, the controller failed again. The Minecraft servers again crashed, and dmesg showed a number of disk errors:
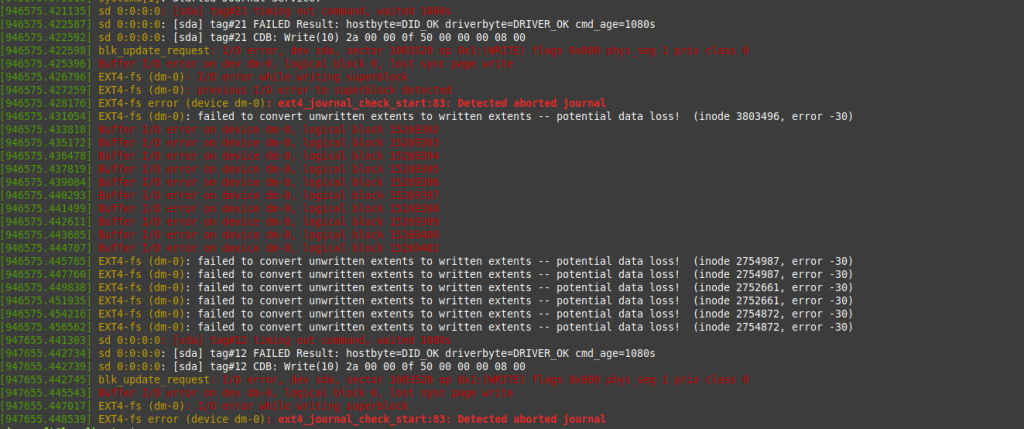
After a reboot of the physical server, I was presented with this error:

Once I passed this screen, most of the virtual machines failed to boot up, reporting OS inconsistency errors requiring fsck to try and fix. I powered the entire server off and waited for the replacement RAID controller to arrive.
Replacing the RAID Controller
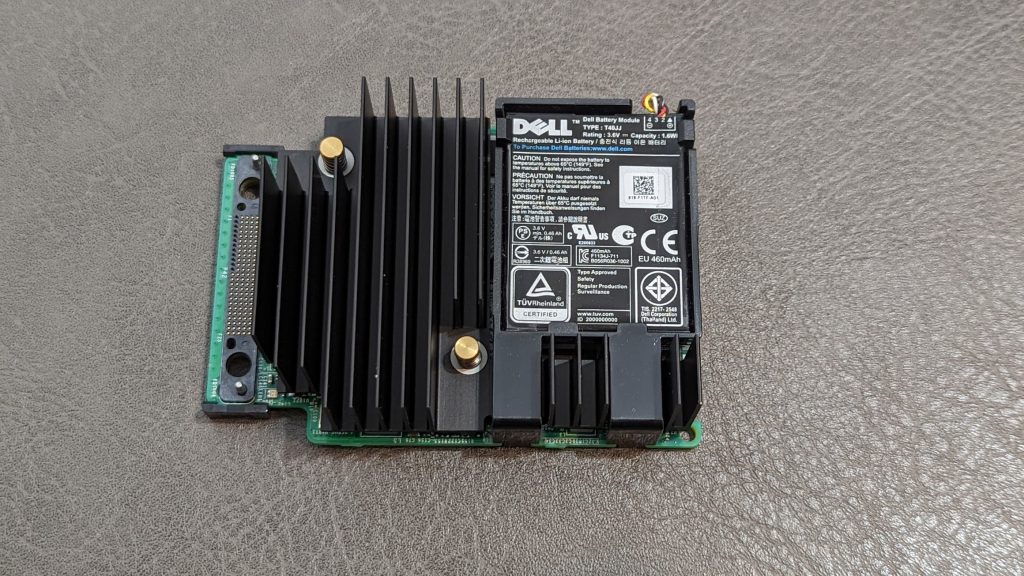
Thankfully the replacement RAID controller was shipped from near Toronto, and only took a few days to arrive. I was able to get the same model as the existing one. On the left side, you can see where the connector to the board goes, along with two screws.
Swapping the physical RAID controller was fairly easy. The Dell R630 server is on sliding rails, so I disconnected the cables, slid it out, and opened the top. I unscrewed the two screws on the connector, pulled it off, then pulled out the RAID controller to replace. Once the new RAID controller was installed, I closed it up and slid the server back into the rack. I reconnected all of the cables, and powered it up.
Attempting Boot
The 2x2TB Samsung SSD RAID-1 was detected by the new RAID controller without having to import foreign disks. Unfortuantely the OS disk that VMware vSphere ESXi booted from (an Intel SSD) was not being detected as a valid boot device. I tried troubleshooting this for about a day attempting to get the Intel SSD to boot into ESXi:
- I updated the server firmware, drivers, and BIOS; and rolled it back when that didn’t work.
- I ran hardware diagnostics overnight to check if there was a hardware issue: there wasn’t.
- I tried swapping between BIOS and UEFI mode, but the server only seemed to work in BIOS mode.
- I ran the one-shot BIOS boot menu to attempt to boot from the Intel SSD. It wouldn’t detect as a valid boot device.
- I went into the RAID controller configuration itself, and confirmed I was able to choose the Intel SSD as the primary boot device, but it would not boot.
- I tried looking at logs for the server in IDRAC for a problem, but couldn’t see one.
- I tried setting the Intel SSD as a non-RAID disk, and as a RAID-0 virtual disk to boot from.
None of this worked.
Creating USB Boot Stick
After all of this, I thought that maybe the corruption from the old RAID controller had caused issues with the boot sectors on the OS drive. I decided to try repairing, or reinstalling VMware ESXi. Fortunately the VMs and all the datastores were on the 2x2TB Samsung SSD RAID-1, so I was hopeful I’d be able to recover something if I could boot into
The first thing I needed to do was build a USB stick to boot and install ESXi. On Windows, this is fairly easy to do, as you can just download the proper VMware vSphere ESXi ISO, download and run Rufus, and pop in your USB stick. In a few minutes you’ll have a fully bootable ESXi installer.
Unfortunately on Linux, things are not that simple, and I took the stubborn way to find a method to create a bootable USB stick. The problem is that while most apps will write the ISO to the USB device, they won’t create the device as proper boot media. I tried:
- Mintstick (USB Image Writer)
- mkusb – a pretty cool automated script for making multiboot flash drives
- balenaEtecher
- Following VMware instructions to manually create a boot partition and load the ISO.
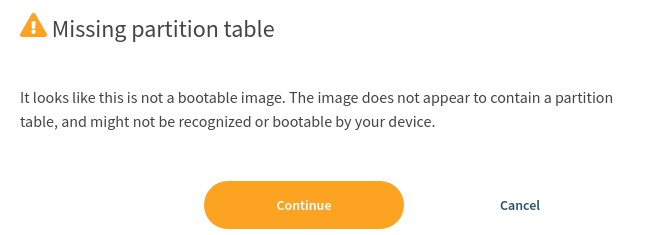
Unfortunately none of these worked. When I tried loading the VMware ISO with balenaEtcher, it would even even tell you it is not a bootable image:
Ultimately, the only program that worked to create a bootable USB stick was a tool called UNetbootIn. The UI was a bit broken, and I ended up having to launch it in Terminal and specify the path to the USB stick manually using this command:
unetbootin installtype=USB targetdrive=/dev/sdb1Once I got the ISO burned to the USB stick, it would boot with a syslinux boot menu, and I could choose the ESXi installer to boot from successfully.
Once finally in the ESXi installer, I checked and it would not detect a valid ESXi installation on the Intel SSD, so a repair was not possible.
Recovering vSphere
Since it looked like I was going to need to reinstall ESXi anyway, I set up a new pair of new 480GB Intel Enterprise SSD in RAID-1 for the OS drive:

I was then able to boot off the USB stick, and do a fresh install of ESXi onto the virtual disk.
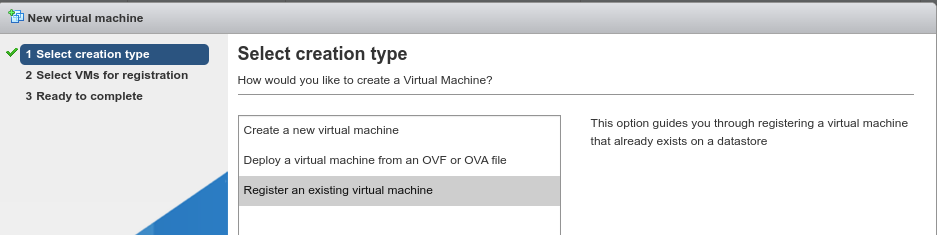
Once ESXi was fully booted and configured with the same settings as previous, I was able to log into the web interface, which detected the datastore on the 2x2TB Samsung SSD RAID-1, and I was able to re-register the existing virtual machines:
Most of the virtual machines would not boot due to OS drive issues, but thankfully I was able to restore them to the snapshots I took after the first PERC failure. For example:
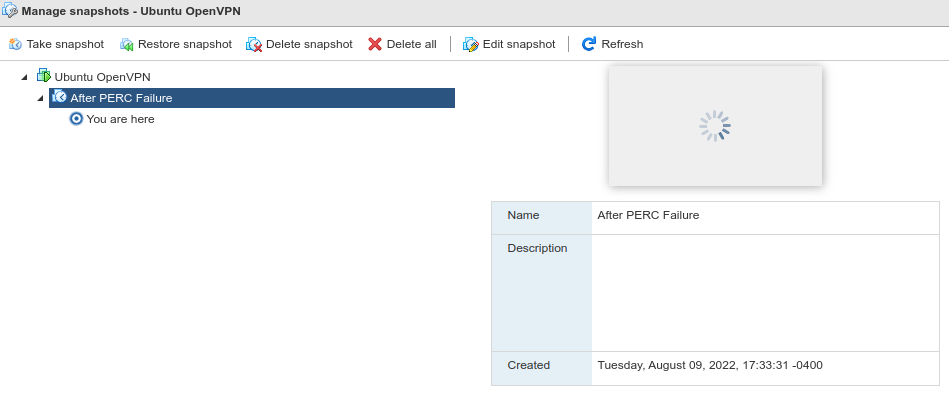
Thankfully I was able to recover most of the virtual machines, including the one running my Ubiquiti Controller running in a Docker container. I was a bit worried because the last backup I had taken of the Controller was more than a year old, and I had switched a lot of hardware around since then. Not being able to recover this machine would mean factory resetting and re-adopting and reconfiguring all of the network hardware again, which would take a long time.
Once all of the virtual machines were recovered and booting properly, I did some minor updates, then did an OVF export of each of them, and saved all of the exports to my network attached storage file server.
Updating vSphere
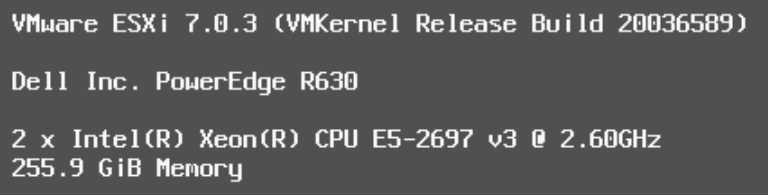
Once I was sure all of the virutal machines were bootable, functional, and backed up, I looked at updating VMware vSphere ESXi to a newer version. I had been stuck on 7.0U2d for a while waiting for 7.0U3 to become more stable, so I was quite a few patches behind. From reading up a bit, it looked like ESXi 7.0U3f was fairly stable. I put both of the ESXi servers in maintenance mode and enabled SSH to upgrade them.
I had downloaded the 7.0U3f zip file, and tried to do a CLI update on each of the servers, but this didn’t work. I ran into a number of problems, including this known issue with the Intel i40en driver was renamed to i40enu, and VIBs being skipped:
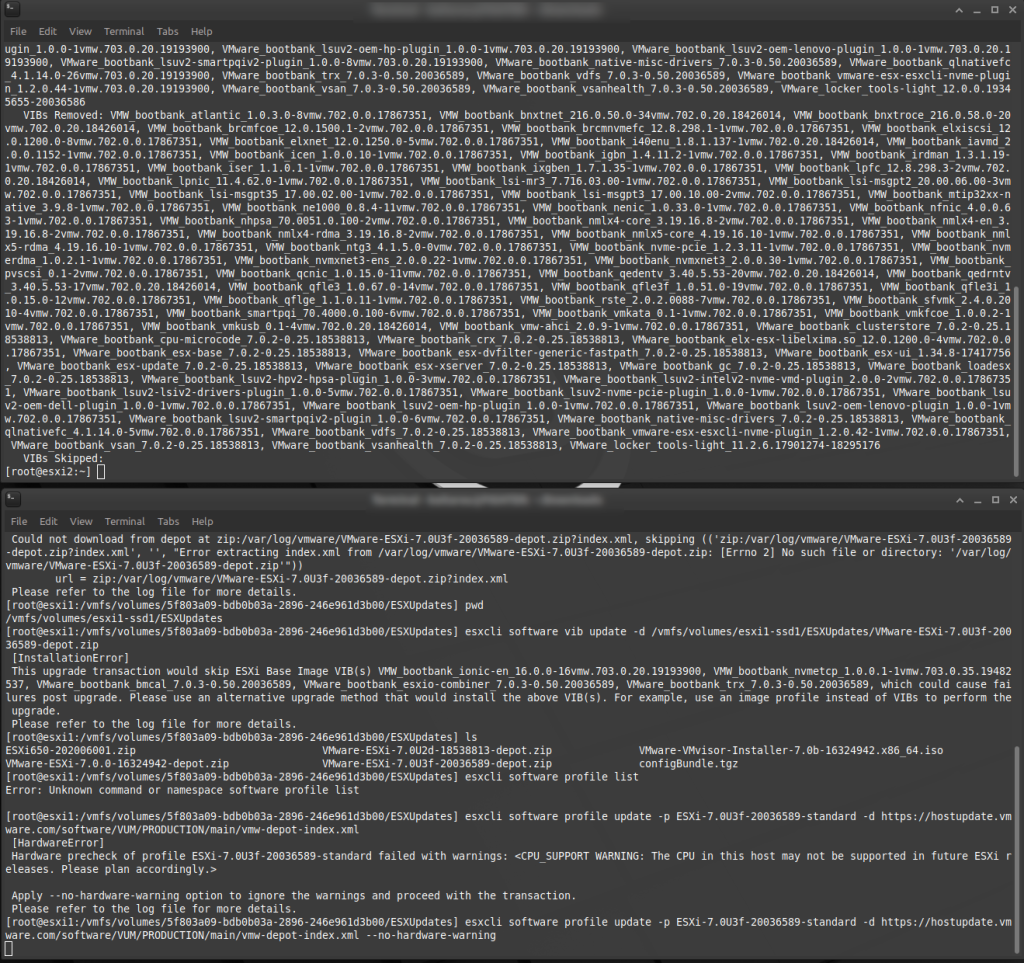
I tried fixing manually using the steps in the article, but it didn’t work. Ultimately, I used this esxcli command from this article to download and upgrade in stages from 7.0U2x to the latest 7.0U3 version:
esxcli software profile update -p ESXi-7.0U3f-20036589-standard -d https://hostupdate.vmware.com/software/VUM/PRODUCTION/main/vmw-depot-index.xmlAfter waiting a bit, I could see all of the modules upgraded, rebooted, and had two fully up to date vSphere ESXi servers:
Reinstalling vCenter
Because the vCenter Server Appliance (VCSA) had been completely corrupted, I had to reinstall this from scratch. This took a few attempts, as it runs in multiple stages. Stage 1 creates the virtual machine, and this worked fairly well. Stage 2 configures it, and this failed a few times. At one point, I wasn’t sure if the install had completed successfully as I was able to bring up the vcenter console on port 5480, but it would just launch and report “Error while communicating with remote host”. After troubleshooting this for a while without success, I deleted the vCenter VM and reinstalled from scratch successfully.
Once vCenter was running, I added the ESXi servers to it. This worked, but I ran into problems where any commands I tried to issue through vCenter to the ESXi host (on the same server!) would fail with a connection error, disconnect, then reconnect. Eventually I was able to fix these problems, mainly by removing and re-adding the ESXi servers using their IP addresess, and restarting the management agents.
Reinstalling Minecraft
Once I had vCenter running again, I was able to import the OS templates I had created using Packer, and create a new virtual machine with my Debian image. I then used my Ansible Playbooks to reinstall Minecraft. I did some minor tweaks, set up the connection to the network share, and restored the last stable world backup, then confirmed the servers were running properly.
Conclusion
If this sounds like a lot of work, that’s because it was. It took pretty much an entire long weekend to restore everything that had been corrupted, and get things back up and running. I’m thankful that no critical data was lost. Hopefully these two articles are a good lesson as to why having proper backups and disaster recovery is important, even in a homelab environment.
![]()